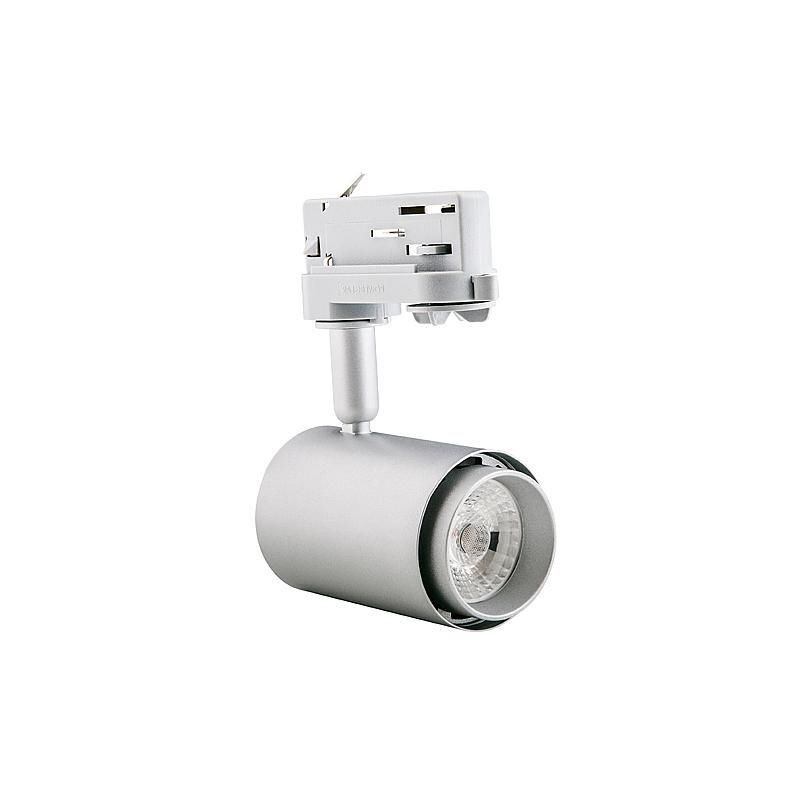
3-phase track light system
3-phase track lighting
With a 3-phase track lighting system, you can create three different circuits on the track. For each track spotlight and track lamp, you can specify whether the lamp should operate on phase 1, 2, or 3. This way, you can easily install one track system on a single power point and still apply three separate switches. It is also possible to control all the lights on a 3-phase track at once if they are on the same phase. This allows you to keep the option open to control the lights individually in the future. To guide you through the process, we have gathered and organised all the relevant information. It is also possible to control all three separately. The 3-phase track is useful if you don't always want all the track lights (on all sides) to be on. 3-phase track lighting is primarily used in commercial spaces.
Step 1. Choose track
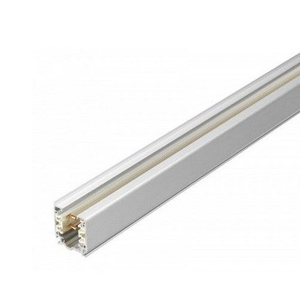
Tracks are available in various colours and sizes. Below, you can choose from black, grey, and white tracks.
Black track
Schwarz
White track
Weiß
Step 2. Choose power connection
Connection box, earth left
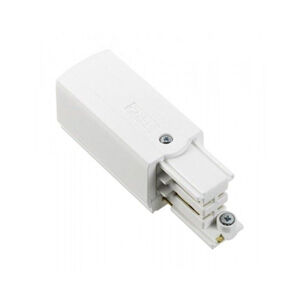
The earth at this starting point is on the left. This adapter can easily be connected to 220-240V. This component is therefore necessary to provide electricity to your 3-phase track.
Anschlussdose, Erde links
Connection box, earth right
At this starting point, the earth is on the right. This adapter is required to provide electricity to your 3-phase track and can be easily connected to 220-240V.
Anschlussdose, Erde rechts
Connection box, middle
With this connection box, it is not necessary to supply power at the beginning or end of the track. You can also provide power somewhere in the middle, for example, between two sections of track.
Step 3. Choose a connector
Standard connector
For straight sections, you can use a standard connector to join two tracks.
Standard-Verbindungselement
T-connector
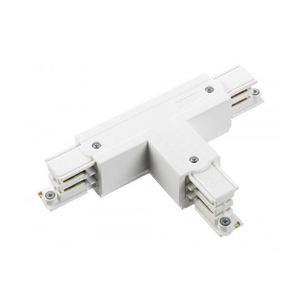
With the T-connector, you can connect three tracks at a right angle.
T-Verbindungselement
Cross connector
Join four tracks at a right angle using the cross connector.
Kreuzverbindung
Corner connector
To create a 90-degree angle, use a corner connector.
Winkelverbindung
Flexible connector
Connect two tracks at any angle. This flexible connector allows you to link ceiling and wall mounts.
Flexibles Verbindungselement
Step 4. Choose lighting
Light colours are indicated in Kelvin. The lower the colour temperature in Kelvin, the more yellow and warm the light appears. At a higher colour temperature, the light becomes bluer and cooler.
Step 5. Choose accessories
End cap
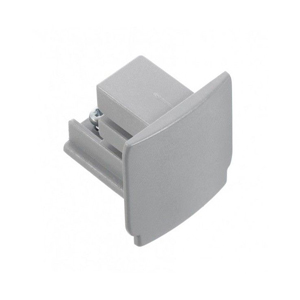
With an end cap you can close the track.
Suspension kit
With a suspension kit, it’s possible to mount the tracks without directly attaching them to the ceiling.
Aufhängung
Ceiling bracket
This bracket can be clipped onto the top of the 3-phase track. The bracket has holes for screws, allowing for direct mounting to the ceiling.
Pendant adapter
The pendant adapter allows you to install regular pendant lamps in the track system.
Surface mount base
This converts a 3-phase track spotlight into a ceiling spotlight. It's essentially a small piece of track that allows for one track spotlight to be clicked in. This surface-mounted spotlight can be connected to 220-240V.


